Puller pressure settings control the force applied during automotive dent repair, typically ranging from 10-80 PSI based on dent severity. These pressure controls determine pulling strength through mechanical, pneumatic, or hydraulic systems. Professional technicians use testing methods that reveal optimal pressure selection for different metal types and damage levels, enabling faster repairs while preventing panel damage or paint cracking.
What Are Puller Pressure Settings in Dent Repair
Puller pressure settings are controlled force measurements that determine how much pulling strength dent repair tools apply to damaged vehicle panels. These settings work by creating precise tension between the pulling attachment and the metal surface, gradually reshaping dented areas back to their original contour. The pressure mechanism operates through gauges that display real-time force readings, allowing technicians to monitor and adjust applications as needed. Most professional dent pullers feature adjustable controls ranging from gentle 10-15 PSI applications for minor surface damage to heavy-duty 60-80 PSI settings for severe structural dents.
How Puller Pressure Systems Operate
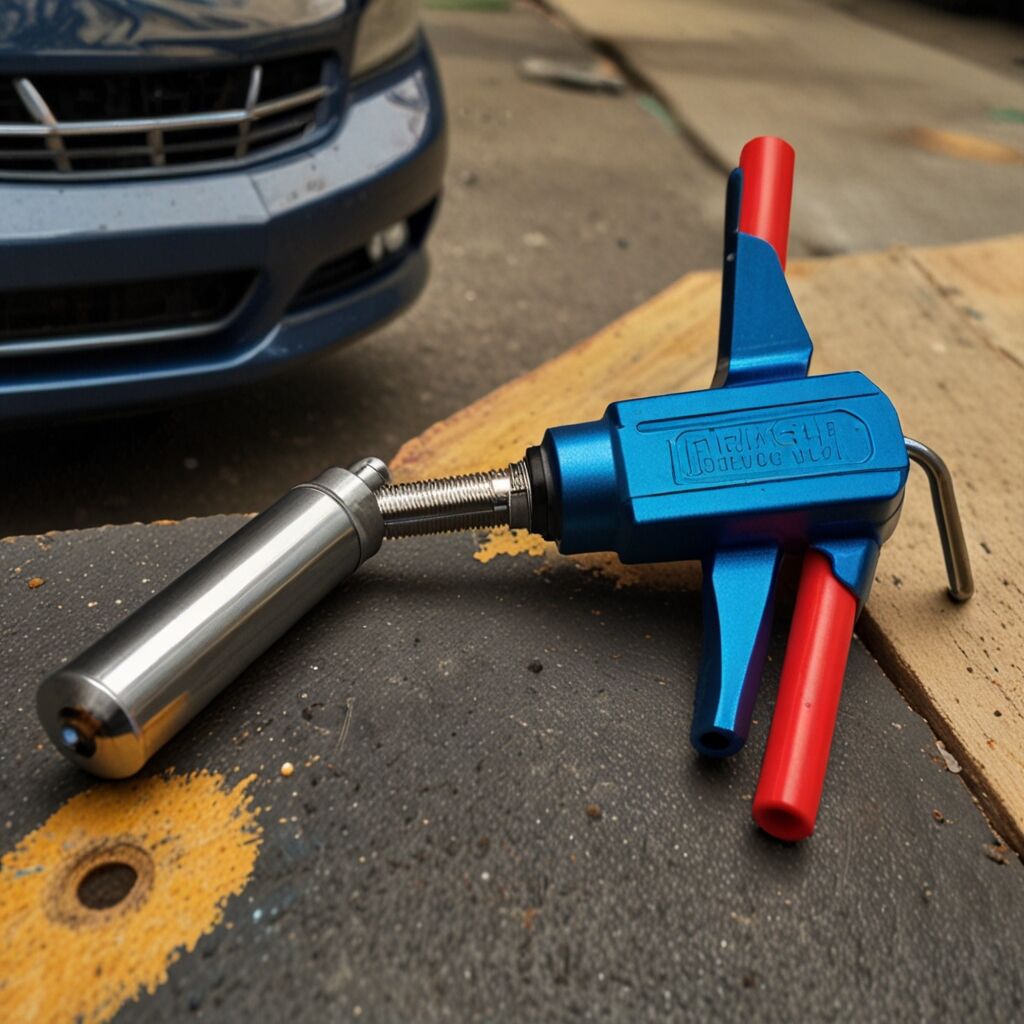
Puller pressure systems function through three primary mechanisms: mechanical leverage, pneumatic compression, or hydraulic force distribution. Mechanical systems use manual force application with pressure gauges showing applied tension. Pneumatic systems utilize compressed air to generate consistent pulling force, while hydraulic systems employ fluid pressure for maximum pulling capacity. The pulling process works by attaching specialized tools to the dented area, then applying controlled pressure that lifts depressed metal gradually. This controlled approach prevents sudden metal movement that could cause cracking, stretching, or additional damage to surrounding panel areas.
Benefits of Proper Puller Pressure Control
Proper puller pressure control provides significant advantages for automotive dent repair operations. The primary benefits include faster repair completion times, as correctly calibrated pressure settings eliminate guesswork and reduce trial-and-error attempts. Metal protection represents another crucial advantage – appropriate pressure levels prevent panel stretching, paint cracking, and structural damage that occurs with excessive force. Additionally, consistent pressure control leads to more predictable repair outcomes and higher customer satisfaction rates. Proper puller pressure helps ensure reliability throughout extended repair cycles while maintaining professional quality standards.
Cost and Time Savings Through Pressure Control
Effective pressure management reduces repair costs through several mechanisms. Labor time decreases when technicians use optimal pressure settings, typically cutting repair duration by 30-50% compared to manual trial-and-error approaches. Material costs drop because proper pressure prevents secondary damage requiring additional paint work or panel replacement. Training costs also decrease when technicians learn systematic pressure application methods rather than developing skills through expensive mistakes. Small repair shops typically save between $50-200 per repair through improved pressure control, while high-volume facilities can achieve monthly savings ranging from $2,000-8,000 depending on repair volume.
Limitations and Safety Considerations for Pressure Settings
Puller pressure systems have important limitations that technicians must understand for safe operation. The most significant limitation involves pressure application on severely damaged or previously repaired panels, which may have compromised structural integrity that cannot handle standard pressure ranges. Edge dents near panel boundaries often cannot accommodate typical pressure settings due to limited attachment points and increased stress concentration. Weather conditions also affect pressure requirements – cold temperatures make metal more brittle, requiring 20-30% lower pressure settings to prevent cracking or stress fractures.
Safety Precautions for Pressure Application
Safety considerations become critical when working with puller pressure systems, as improper use can cause injury or expensive vehicle damage. Always wear safety glasses and protective gloves when operating pressure equipment, as sudden pressure release can cause tool components to move unexpectedly. Never exceed manufacturer-recommended pressure limits for specific tools or vehicle panels. Start with conservative pressure settings (around 15-25 PSI) and increase gradually while monitoring metal response. Stop immediately if you hear cracking sounds, observe sudden metal movement, or notice paint stress around the repair area. Understanding warranty coverage helps protect against equipment failure during high-pressure applications.
Key Safety Guidelines
- Always inspect panels for previous damage or weak spots before applying pressure to avoid catastrophic failure.
- Use proper personal protective equipment including safety glasses and cut-resistant gloves during all pressure operations.
- Never apply pressure beyond 80 PSI without specialized heavy-duty equipment designed for extreme applications.
- Monitor ambient temperature and adjust pressure settings accordingly – reduce by 25% in temperatures below 40°F.
- Maintain proper tool attachment to prevent sudden disconnection that could cause injury or panel damage.
- Keep pressure application time under 30 seconds to prevent metal fatigue and work-hardening effects.
- Have emergency procedures ready for pressure system failures or unexpected panel behavior during repairs.
Types of Puller Pressure Systems and Equipment
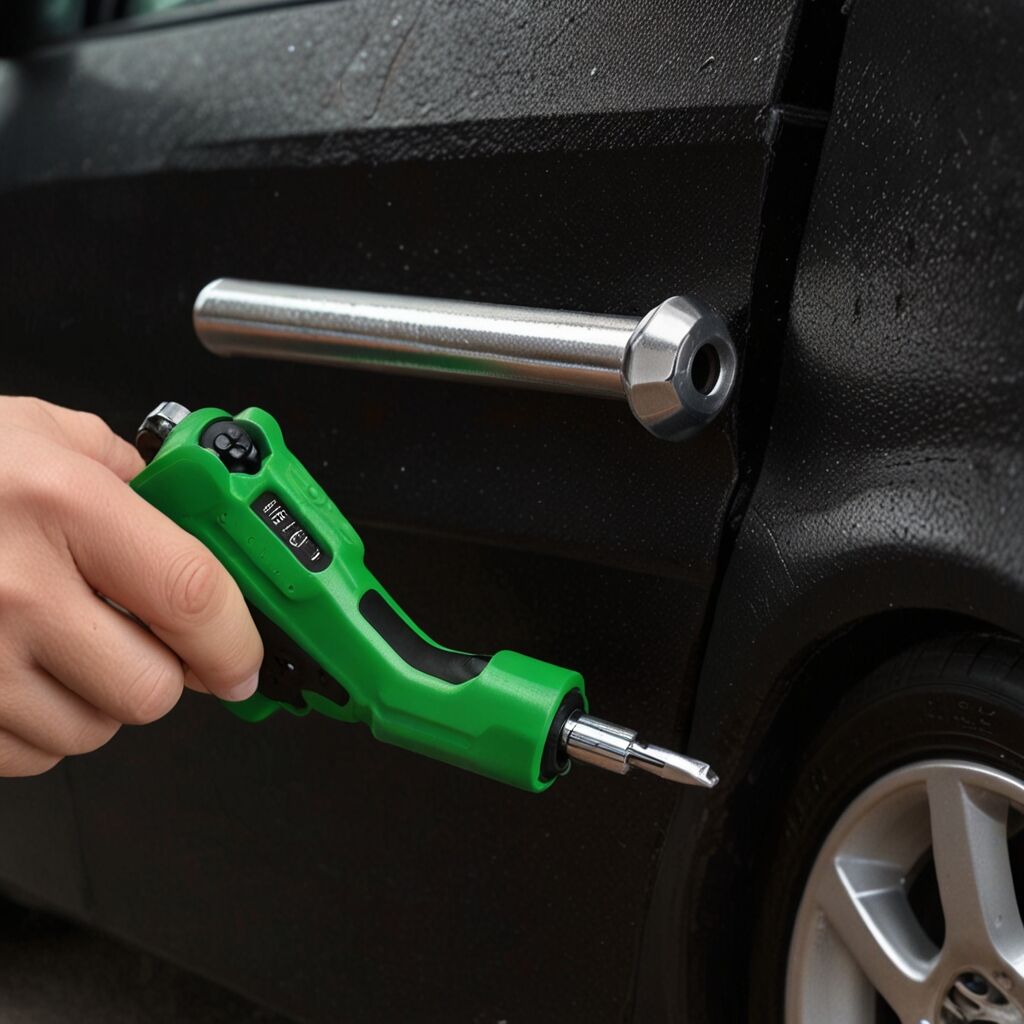
Several distinct puller pressure systems serve different automotive repair applications and skill levels. Manual pullers require physical force application and offer excellent pressure control for delicate work, typically operating in the 10-30 PSI range with costs ranging from $50-300. Pneumatic systems use compressed air to generate consistent pressure, making them ideal for production environments where multiple repairs occur daily, with equipment costs typically ranging from $300-1,500. Electric pullers provide automated pressure application with digital controls and programmable settings, usually priced between $800-3,000 for professional-grade units.
Equipment Selection Based on Application Needs
Choosing the appropriate puller system requires careful consideration of your specific repair environment, budget constraints, and typical dent complexity. Small repair shops often benefit from pneumatic systems due to their versatility and moderate cost, while maintaining capability for 90% of common automotive dents. High-volume repair facilities typically prefer electric systems for their speed, consistency, and detailed pressure logging capabilities. DIY mechanics usually find manual pullers sufficient for occasional repairs, especially when working on personal vehicles where time constraints are less critical. Comprehensive comparison data helps evaluate which pressure system type best matches your operational requirements and long-term business goals.
Training Requirements for Different Systems
- Manual systems require 2-4 hours of basic training to understand pressure gauges and safe application techniques.
- Pneumatic systems need 8-12 hours of training covering air pressure management and equipment maintenance procedures.
- Electric systems require 16-24 hours of comprehensive training including programming, diagnostics, and advanced repair techniques.
- Hydraulic systems demand 24-40 hours of intensive training due to high pressure risks and complex operation requirements.
- Certification programs are available through automotive trade schools and equipment manufacturers for all system types.
- Ongoing education helps technicians stay current with new pressure control technologies and safety standards.
- Insurance requirements may mandate specific training levels for technicians operating high-pressure equipment in commercial settings.

Step-by-Step Pressure Adjustment Process
Proper pressure adjustment requires a systematic approach to ensure safe and effective dent removal results. Begin by examining the dent characteristics, including depth measurement, overall size, and location on the vehicle panel relative to structural elements. Set initial pressure to approximately 25% of your estimated requirement – typically 15-20 PSI for minor dents or 25-35 PSI for moderate damage. Apply pressure gradually while monitoring the metal’s response, watching for signs of movement, resistance, or stress concentration around the attachment point.
When and How to Modify Pressure During Active Repairs
Pressure modifications become necessary as dent removal progresses through different repair phases and metal response changes. Initial pressure application should focus on breaking the metal’s resistance and beginning the reshaping process without causing sudden movement. Mid-repair adjustments help maintain steady progress while avoiding over-correction that could create reverse dents requiring additional repair work. Final pressure settings typically require reduction to prevent pulling the metal beyond its original contour, which creates new problems requiring expensive correction procedures. Adjustments to puller pressure settings are essential for maintaining consistent repair quality throughout varying environmental conditions and different vehicle types.
Pressure Ranges for Common Automotive Applications
- Minor surface dents on modern vehicles respond best to 10-20 PSI pressure applications with gradual increases.
- Standard automotive dents typically require 25-45 PSI for effective removal without causing secondary damage.
- Deep dents may need initial pressure settings of 50-70 PSI, then reduced as metal begins responding.
- Aluminum panels generally require 20-30% less pressure than steel equivalents due to softer material properties.
- Edge repairs near panel boundaries should use 15-25% reduced pressure settings to prevent stress concentration.
- Multi-layer repairs may require pressure cycling between 20-50 PSI ranges depending on damage complexity.
- Final shaping typically uses 10-15 PSI to avoid over-correction and maintain original panel contour accuracy.
Professional Best Practices for Pressure Management
Effective puller pressure management begins with proper equipment calibration and regular maintenance schedules that ensure accurate pressure readings. Clean and inspect pressure gauges before each use to prevent measurement errors that could lead to improper force application. Test pressure settings on practice panels or inconspicuous areas when working with unfamiliar metal types or panel configurations. Document successful pressure combinations for different dent types to build a reference database for future repairs, improving efficiency and consistency across multiple technicians.
Metal-Specific Pressure Strategies
Different automotive metals require tailored pressure approaches for optimal repair results and long-term durability. Steel panels can typically handle 40-70 PSI without structural concerns, making them suitable for aggressive dent removal techniques when necessary. Aluminum requires more delicate handling, with pressure ranges usually limited to 20-45 PSI to prevent stretching or work-hardening that creates permanent damage. High-strength steel found in modern vehicles may need specialized techniques combining moderate pressure (30-50 PSI) with heat application to achieve proper metal movement. The correct puller pressure for dent removal depends heavily on material identification and understanding how different metals respond to stress applications.
Common Pressure Setting Mistakes and Prevention
The most frequent error involves applying excessive pressure too quickly, which can stretch metal beyond repair or create stress cracks around the dent area requiring expensive panel replacement. Another common mistake includes using inappropriate pressure settings for specific metal types – applying steel-rated pressure to aluminum panels often results in permanent damage costing hundreds of dollars to correct. Failing to adjust pressure as repairs progress can lead to over-correction, creating reverse dents that require additional repair work and customer dissatisfaction.
Prevention Strategies and Alternative Approaches
Preventing pressure-related repair problems requires systematic preparation and continuous monitoring throughout the repair process. Always perform visual and tactile inspections of the repair area before applying pressure to identify potential weak points or previous damage that might affect pressure tolerance. Use pressure sensors or smart gauges when available to maintain consistent force application and create detailed repair records. Monitor metal response continuously rather than applying pressure blindly – stop immediately if you observe unusual resistance, cracking sounds, or unexpected metal movement. Puller pressure range for effective dent repairs should always be adjusted based on real-time feedback from the metal rather than following rigid guidelines that ignore material variations and environmental factors.
Alternative Methods When Standard Pressure Fails
- Heat application can soften stubborn metal areas that resist standard pressure settings, requiring 30-50% less force.
- Multiple attachment points distribute pressure more evenly across larger dent areas, reducing stress concentration risks.
- Cycling pressure application (on/off sequences) prevents metal fatigue during extended repairs lasting over 15 minutes.
- Combination techniques using hammers and dollies supplement pressure pulling methods for complex damage patterns.
- Chemical softening agents can make aged or work-hardened metal more responsive to lower pressure applications.
- Professional consultation becomes necessary when standard pressure methods prove ineffective after 30 minutes of attempts.
- Panel replacement may be more cost-effective than complex pressure manipulation attempts exceeding $300 in labor costs.
Advanced Pressure Techniques and Professional Development
Professional dent repair success depends on combining proper pressure settings with advanced application techniques that maximize efficiency while minimizing risk. Start every repair by establishing baseline pressure requirements through small test pulls in inconspicuous areas, typically using 50% of estimated pressure needs. Use progressive pressure application – begin with minimal force and gradually increase until you achieve consistent metal movement without sudden changes or resistance spikes. Monitor the repair zone continuously for signs of stress concentration or unexpected metal behavior that might indicate the need for immediate pressure adjustment or technique modification.
Professional Training and Certification Pathways
Advanced pressure management skills develop through structured training programs and hands-on experience with diverse vehicle types and damage scenarios. Professional certification programs typically require 40-80 hours of classroom instruction covering pressure theory, metal properties, and safety protocols, followed by 100-200 hours of supervised practical experience. Ongoing education helps technicians stay current with new pressure control technologies, updated safety standards, and emerging vehicle materials that require specialized pressure approaches. Understanding the best use cases for various pressure techniques enables technicians to select optimal approaches for each specific repair scenario, leading to consistently superior results and increased customer satisfaction while building professional reputation and business growth opportunities.